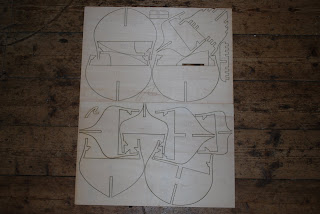
So work in the shipyard is back up and running! I had some fun cutting new parts and began constructing the winding frame. This was a simple enough process. There are 8 winding frames which I sanded the edges of and then glued dirctly onto the first bulkhead at the bow. The only thing I had to be careful about was making sure that the top of each frame lined up with the top edge of the bulkhead. One of the winding frames was slightly loose so I had be a bit careful when glueing that one to make sure it was square. All the others were so well cut that I couldn't really go far wrong. Below are some photos of the process:


 Next Steps
Having had a quick dry fit of all the bulkheads I have now taken them all off to sand then all down ready for fitting. The instructions tell me not to glue the bulkheads until the decks have been fitted. A post on Model Ship World suggested that glueing at this stage would not be a problem, but neither would glueing after fitting the deck. However, from what I have read the important points are to make sure that all the bulkheads are perpendicular to the keel and remain square but also to ensure the deck is level and fits flush against the bulkheads. I'm not 100% decided yet but I feel that it will be easier for me to get the bulkheads square now and glue then straight. I might then have some trouble fitting the deck, but I think this is an easier problem to solve that if I glue and pin the deck and then realise some of the bulkheads aren't square. So to cut a long story short my next step (I think) is to sand the edges of all the bulkheads so that they are smooth and then glue all the bulkheads square to the false keel.
New Parts (yes, already!!)
After so long without parts I'm really happy to be able to say that Model Space (Deagostino) have come to my rescue! Rather than having to wait another month for the third set of parts they kindly offered to send the third set of parts immediately and then send the fourth set in a months time. The new parts arrived yesterday, only 2 days after I had picked up the second set of parts! Below is a picture of what came with the third installment:

The parts include:
- The full first deck (that I have seen referred to as the false gun deck)
- The lower side base of the stern transom (!!) I have no idea what they are, but I will be sure to investigate and report back
- Embelisments on the lower coamings of the bowsprit. I don't know what a 'lower coaming' is (or a coaming for that matter!) but I believe the bowsprit is the long timber that sticks out at the front of the ship.
- A bag of pins (that one I can just about figure out!)
- a rather satisfyingly chunky bundle of wood!
Since I'm one of these slightly autistic types I like to label everything I receive off against the parts list to make sure I know what everything is and make sure I've got everything I should. So one thing I have started doing it going through the bundle of wood and measuring each bit to group all the same bits together and then double check them against the parts list. This looks to be a fairly long job, but I'll get there eventually and can post exactly which bits of wood came with this installment.
Speaking of which, I think it's time to start measuring and sorting strips of wood! Who could ask for a more exciting Friday night!
Happy Modelling,
Jonny.
